About Us
The Chamber’s Mission
Board of Directors and Staff
Membership
Join
Member Testimonials
Member Benefits
Sponsorship & Advertising Opportunities
Member Directory
Member Job Postings
Shop Arlington First
Shop Arlington First Gift Certificates
Special Offers
Visit Arlington
Things to Do in Arlington
Arlington 250
News & Resources
State & Local Business Resources
Recent Newsletters
News
Contact
Join
Login
Search for:
Archives:
Carousels
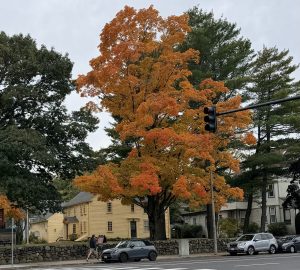
4_Autumn 2026_3
Beth Locke
16 Oct, 2026
Uncategorized
Read More
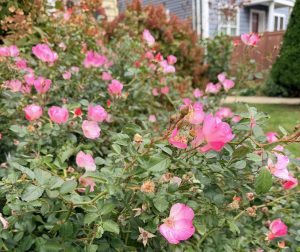
2_Autumn 2026_2
Beth Locke
16 Oct, 2026
Uncategorized
Read More
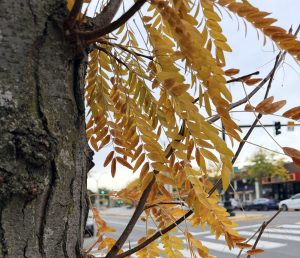
6_Autumn 2026_1
Beth Locke
16 Oct, 2026
Uncategorized
Read More
1_Juno
Beth Locke
16 Oct, 2026
Uncategorized
Read More
3_Artemis
Beth Locke
13 Feb, 2025
Uncategorized
Read More
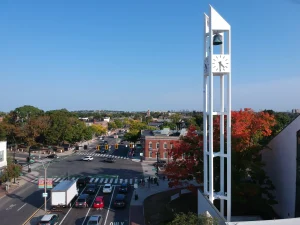
5_Mass Ave Aerial
Beth Locke
13 Feb, 2025
Uncategorized
Read More